**Post contains affiliate links.**
So, hopefully you know by now how important water quality is to the health and wellbeing of your fish. But how does one go about actually testing your fish tank water quality? We’ll walk you through each step on how to test fish tank water to give the best results.
Step 1: Buy a Water Quality Test Kit
You cannot tell if your fish’s water chemistry is healthy by looking at it, so you’ll need to test it. This test kit is the best available on the commercial market. You will need to replace it yearly.
Step 2: Remove Test Sample
Rather than rinse all your test tubes and chemicals directly into your tank, which can hurt your fish, remove a small sample in a clean bowl or bucket. You will likely not need more than a cup or more. If you are testing a pond sample, we recommend taking a sample from the part of your pond that is furthest away from your inflows, such as waterfalls and filter returns. Try to take a sample right before it heads down your skimmer.
Step 3: Rinse Your Vials
This is a critical step that can easily throw off your results if residual testing chemicals remain in your vials. Fill all your test tubes about 1/4 to 1/3 full of water, put on the caps and shake them. Toss rinse water down the drain.
Step 4: Read the Instructions
The biggest mistake in testing fish tank water is adlibbing the procedure. Be sure to read all of your instructions carefully before proceeding. Depending on the test kit you are using, you may need to shake testing solutions or time various samples. If you do not have a method of timing, go get one before you start.
Step 5: Test Your Water Chemistry
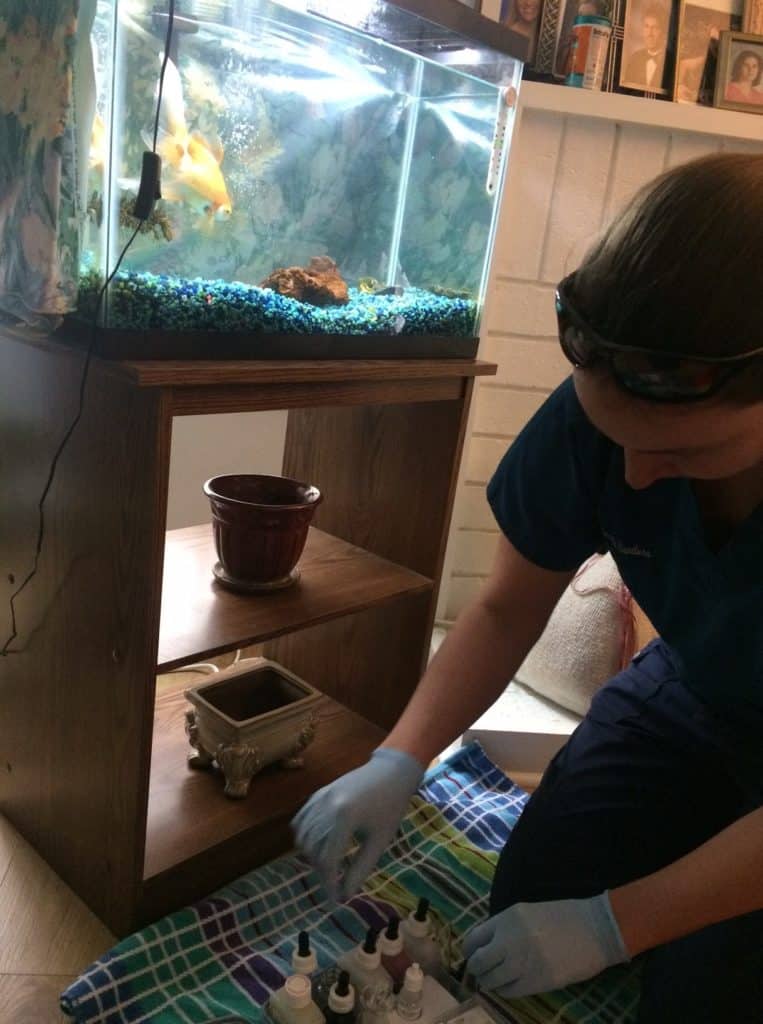
Once you have absorbed and processed the instructions, it’s time to test! We highly recommend doing one test at a time until you have practiced a few times. Our vet is able to run up to 3 tests at a time, but only because she has done it three times a day for nine years. Here are the parameters we recommend checking regularly:
- Ammonia
- Nitrite
- Nitrate
- pH
- Temperature
You can also test your kH and gH if your pH is not where it was previously.
Step 6: Write Down Your Results
Once you have your results, WRITE THEM DOWN!! Don’t expect to automatically or easily remember what you tested for previously. Use this template to ensure that you have record of your results overtime. This is critical to start seeing patterns, especially with your pH.
Step 7: Interpret Your Results
AFTER you write down your results, it’s time to consider your findings. Is everything where you expected it to be? Is everything in range? If not, it’s time to take steps to correct problems with your water quality to ensure your fish stay healthy.
Step 8: Repeat at Regular Intervals
Testing your fish tank water is not a one time affair! If you have just started to test fish tank water, it is best to do it daily for at least a week. Then drop back to weekly, then monthly. Test your fish tank water no less than at least once a month. The same goes for testing fish pond water. If you notice any issues with your findings, make your corrections, then test the next day. Did the issue resolve or is it continuing? If you have continued issues with your water chemistry, contact your aquatic veterinarian in order to figure out the best method to keep your fish healthy.
Other Methods to Test Fish Tank Water
Test Strips
Utterly useless and will not give you any helpful information. Throw them away!
Electronic Probes
If you have access to electronic sensors, be sure they are calibrated as per the manufacturers instructions. If you’re in the market, beware that these probes are very e
Testing by Mail
Unfortunately, testing by mail will give you delayed results and if you have a serious problem, it could be much worse by the time you have the results. Testing by mail is required for specialized tests such as heavy metals and are usually submitted by a veterinarian.

